Table of Contents
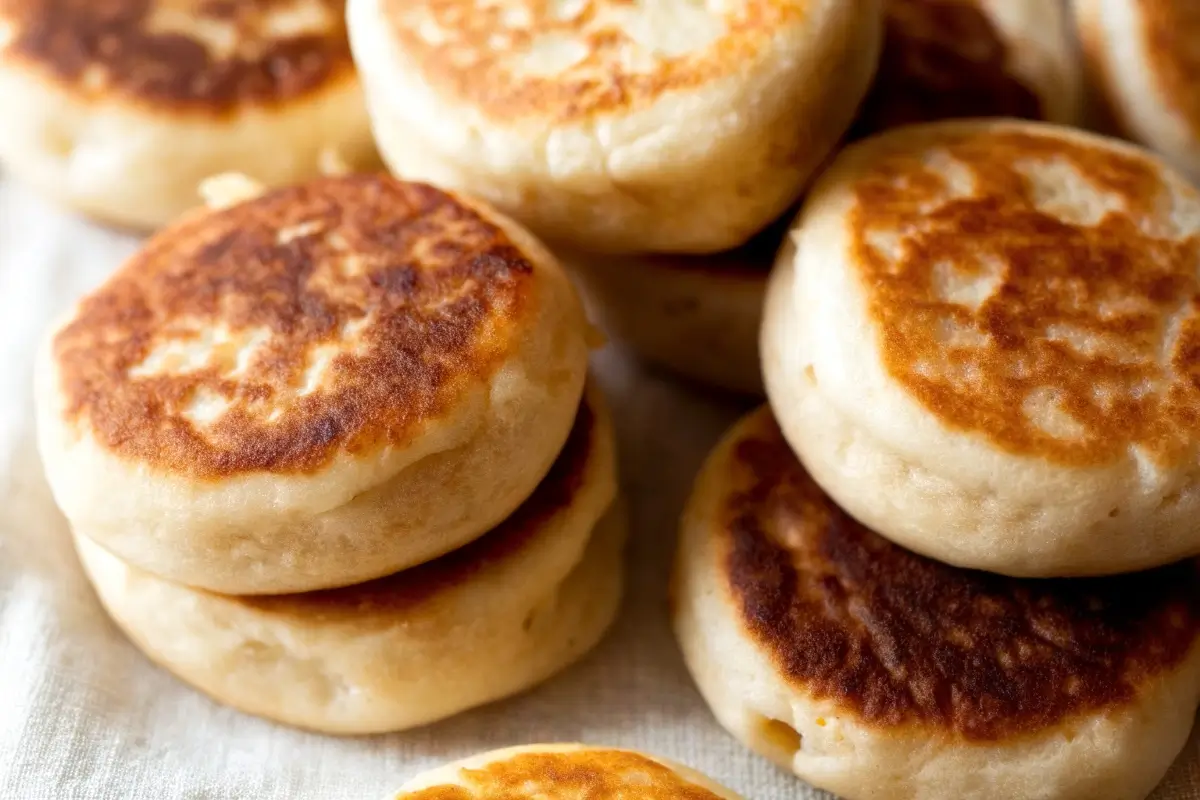
Gorditas de Nata are a beloved Mexican pastry, known for their soft, slightly crispy texture and rich, creamy flavor. Traditionally made with nata, the thick layer of cream that forms on boiled raw milk, these sweet treats are perfect for breakfast, a midday snack, or even dessert.
In this guide, we’ll walk you through how to make authentic Gorditas de Nata at home, covering everything from essential ingredients to step-by-step instructions and expert tips to ensure they turn out fluffy and delicious.
You’ll also find variations, serving suggestions, and answers to common questions, such as how to make them puff up properly and the best substitutes for nata.
What Are Gorditas de Nata?
Gorditas de Nata are sweet, pillowy Mexican pastries made with nata, a thick cream that forms on the surface of boiled raw milk. These delicious treats are often enjoyed with coffee, hot chocolate, or atole, making them a staple in Mexican households and bakeries.
The History Behind Gorditas de Nata
Gorditas de Nata have been a part of Mexican culinary traditions for generations. They originated as a way to use up the nata that formed naturally when raw milk was heated. Over time, bakers began mixing nata with flour, sugar, eggs, and baking powder, creating the sweet, fluffy pastries we love today.
These treats are commonly found in street markets and bakeries, especially in central Mexico, where they are freshly made on griddles and sold as a grab-and-go breakfast or snack.
What Makes Gorditas de Nata Unique?
Unlike savory gorditas, which are made with masa and stuffed with fillings, Gorditas de Nata are sweet and more like thick pancakes or biscuits. Here’s what sets them apart:
- Rich, buttery flavor from the nata.
- Soft and fluffy texture, with a slight crisp on the outside.
- Mild sweetness, making them perfect for pairing with spreads like jam, honey, or dulce de leche.
- Griddle-cooked instead of baked, giving them a signature golden-brown color.
Because of their light yet indulgent texture, Gorditas de Nata are a versatile pastry that can be eaten plain or customized with different flavors and toppings.
Key Ingredients for Gorditas de Nata
To make authentic Gorditas de Nata, you’ll need a few simple yet essential ingredients. The combination of dairy, flour, and leavening agents creates their signature soft, fluffy texture with a slightly crisp exterior.
Essential Ingredients
Here’s what you’ll need to make a traditional batch of Gorditas de Nata:
- Nata (or a substitute) – The key ingredient that gives the gorditas their rich, creamy flavor. If you don’t have access to fresh nata, don’t worry—there are great alternatives.
- All-Purpose Flour – The base of the dough, providing structure and softness. You can mix in whole wheat flour for a slightly denser texture.
- Sugar – Adds sweetness and helps with caramelization, giving the gorditas their golden-brown finish.
- Baking Powder – The leavening agent that makes them puff up and become light and airy.
- Eggs – Bind the ingredients together and add richness.
- Vanilla Extract – Enhances the flavor with a subtle sweetness.
- Butter or Oil – A small amount adds tenderness and helps with the cooking process.
- Milk – Adjusts the dough consistency, ensuring it’s soft but not sticky.
Choosing the Right Nata Substitute
Since fresh Mexican nata isn’t always available, here are the best substitutes:
| Substitute | Texture & Flavor Similarity | Notes |
|---|---|---|
| Heavy Cream | Very Similar | The best option for a smooth, creamy texture. |
| Clotted Cream | Slightly Thicker | A great alternative, though richer and denser. |
| Full-Fat Sour Cream | Tangier | Works well but adds a mild tangy taste. |
| Crema Mexicana | Very Similar | A close match but slightly thinner. |
If using a substitute, try to pick one that keeps the rich, creamy essence of nata, as this is what makes the gorditas special.
Step-by-Step: How to Make Gorditas de Nata
Follow these six simple steps to create soft, fluffy Gorditas de Nata at home.
Step 1: Prepare the Dough
- In a large bowl, whisk together 2 cups all-purpose flour, ½ cup sugar, 1 teaspoon baking powder, and a pinch of salt.
- In a separate bowl, mix ½ cup nata (or heavy cream), 1 egg, 1 teaspoon vanilla extract, and 2 tablespoons melted butter.
- Gradually add the wet ingredients to the dry ingredients and stir until a soft dough forms.

Step 2: Rest the Dough
- Cover the dough with plastic wrap and let it rest at room temperature for 30 minutes.
- This allows the flour to fully absorb moisture, making the gorditas soft and flavorful.

Step 3: Shape the Gorditas
- Lightly flour a clean surface and roll out the dough to about ¼-inch thickness.
- Use a round cutter or glass (about 3 inches in diameter) to cut out circles.
- Re-roll the scraps and cut out more circles until all the dough is used.

Step 4: Preheat the Griddle
- Heat a non-stick pan or griddle over medium heat and lightly grease it with butter or oil.
- Make sure the pan is hot before adding the gorditas for even cooking.

Step 5: Cook the Gorditas
- Place the dough circles on the heated pan and cook for about 2 minutes per side.
- When bubbles form on the surface, flip them over and press gently with a spatula.
- Continue cooking until both sides are golden brown and slightly puffed.

Step 6: Serve and Enjoy
- Remove the gorditas from the pan and let them cool slightly.
- Serve warm with powdered sugar, honey, dulce de leche, or jam.
- Pair with a cup of Mexican hot chocolate or coffee for the perfect treat!

Expert Tips for Making Perfect Gorditas de Nata
To achieve soft, fluffy, and golden-brown Gorditas de Nata, follow these expert tips:
1. Let the Dough Rest for Better Texture
- Allowing the dough to rest for at least 30 minutes helps the ingredients blend, making the gorditas softer and more flavorful.
- For an even better texture, refrigerate the dough for 1-2 hours before rolling it out.
2. Use the Right Nata or Substitute
- Fresh nata gives the best results, but if unavailable, use heavy cream, clotted cream, or full-fat sour cream.
- If using a substitute, make sure it has a rich, creamy consistency to mimic nata’s effect on the dough.
3. Don’t Overwork the Dough
- Mix the ingredients just until combined—over-kneading can make the gorditas dense instead of fluffy.
- The dough should be soft but not sticky. If too dry, add a teaspoon of milk at a time until smooth.
4. Roll to the Right Thickness
- Roll the dough to ¼-inch thickness—too thin, and they won’t be soft; too thick, and they may not cook evenly.
5. Control the Cooking Temperature
- Cook on medium heat—too high, and they’ll burn outside while remaining raw inside.
- If they aren’t puffing up, lower the heat slightly and press gently with a spatula while cooking.
6. Store and Reheat Properly
- Room temperature: Store in an airtight container for up to 2 days.
- Refrigerator: Keep for 5 days and reheat on a griddle.
- Freezer: Freeze individually for up to 2 months and reheat in a pan or oven.
By following these tips, your Gorditas de Nata will be irresistibly soft, flavorful, and perfectly golden brown every time!
Common Mistakes to Avoid When Making Gorditas de Nata
Even though Gorditas de Nata are easy to make, a few common mistakes can affect their texture, flavor, and appearance. Here’s what to watch out for:
1. Using the Wrong Type of Cream
Mistake: Using low-fat or watery substitutes instead of nata.
Solution: Stick to nata, heavy cream, or clotted cream to maintain the rich texture. Avoid skim milk or low-fat cream.
2. Overworking the Dough
Mistake: Kneading the dough too much makes the gorditas tough instead of soft.
Solution: Mix the dough just until combined. A soft, slightly sticky dough will yield the best results.
3. Rolling the Dough Too Thin or Too Thick
Mistake: Too thin and the gorditas will be dry and crispy; too thick and they may not cook through.
Solution: Roll the dough to ¼-inch thickness for the perfect balance of fluffiness and crisp edges.
4. Cooking at the Wrong Temperature
Mistake: Too high heat burns the outside while leaving the inside raw; too low heat makes them dry and dense.
Solution: Cook on medium heat, allowing the gorditas to cook evenly and puff up.
5. Not Letting the Dough Rest
Mistake: Skipping the resting time can make the dough tough and less flavorful.
Solution: Let the dough rest for at least 30 minutes before rolling it out. This helps soften the flour and improves texture.
6. Overcrowding the Griddle
Mistake: Placing too many gorditas on the griddle at once prevents even cooking.
Solution: Cook in small batches so each gordita has room to puff up properly.
By avoiding these common mistakes, you’ll ensure your Gorditas de Nata turn out soft, fluffy, and golden brown every time!
Reheating and Storing Gorditas de Nata
To keep your Gorditas de Nata fresh and delicious, proper storage and reheating are essential. Follow these simple tips to maintain their soft texture and rich flavor.
How to Store Gorditas de Nata
At Room Temperature:
- Store in an airtight container or wrap in plastic wrap.
- Keeps fresh for up to 2 days.
In the Refrigerator:
- Place in a sealed container or ziplock bag.
- Keeps well for up to 5 days.
In the Freezer:
- Wrap each gordita individually in plastic wrap and place them in a freezer bag.
- Store for up to 2 months.
- Tip: Label the bag with the date to track freshness.
How to Reheat Gorditas de Nata
On a Griddle or Pan (Best Method)
- Heat a dry skillet or griddle over medium heat.
- Warm each gordita for 1-2 minutes per side until soft and heated through.
In the Microwave (Quick Method)
- Wrap a gordita in a damp paper towel to keep it from drying out.
- Microwave for 15-20 seconds.
In the Oven (For Large Batches)
- Preheat the oven to 300°F (150°C).
- Place gorditas on a baking sheet and cover with foil.
- Heat for 5-7 minutes until warm.
By using the right storage and reheating methods, you can enjoy fresh, warm Gorditas de Nata anytime!
Variations and Flavor Enhancements
Different Flavor Options
- Add cinnamon for warmth.
- Mix in orange zest for a citrusy touch.
- Try cocoa powder for a chocolate twist.
Making a Healthier Version
- Use whole wheat flour for added fiber.
- Reduce sugar and replace it with honey or coconut sugar.
Gorditas de Nata FAQs:
What Is a Substitute for Nata?
If you can’t find fresh Mexican nata, the best substitutes include:
Heavy Cream – Closest in texture and richness.
Clotted Cream – Thicker than nata but works well.
Full-Fat Sour Cream – Slightly tangy but adds a creamy texture.
Crema Mexicana – A great alternative with a similar consistency.
For the best results, use heavy cream or crema Mexicana, as they maintain the soft, rich quality of nata.
How Do You Get Gorditas to Puff Up?
To achieve perfectly puffy and soft Gorditas de Nata, follow these tips:
Use baking powder – It helps the dough rise and creates air pockets.
Let the dough rest – Allow at least 30 minutes for better texture.
Roll the dough to ¼-inch thickness – Too thin, and they won’t puff properly.
Cook on medium heat – If the heat is too high, the outside will cook too fast, preventing the inside from expanding.
Press gently with a spatula – While cooking, lightly press the gorditas to help them puff up evenly.
Where Did Gorditas de Nata Come From?
Gorditas de Nata originated in Mexico, where they are a traditional street food and bakery item. Historically, they were made using the nata that formed on boiled raw milk, creating a sweet, creamy dough. They are especially popular in central Mexico, where vendors sell them fresh from griddles at local markets.
Is Nata the Same as Clotted Cream?
No, nata and clotted cream are not the same, but they are similar:
Nata is lighter and smoother, forming naturally on boiled raw milk.
Clotted cream is thicker and denser, made by slow-heating heavy cream.
While they share a rich, buttery taste, clotted cream is firmer and contains more fat than nata.
What Is Mexican Nata?
Mexican nata is the thick layer of cream that forms when fresh raw milk is boiled and cooled. It has a silky texture and a mildly sweet, buttery taste, making it a key ingredient in many traditional Mexican pastries, including Gorditas de Nata.
Conclusion
Gorditas de Nata are a beloved Mexican pastry, known for their soft, fluffy texture and rich, creamy flavor. Made with nata (or a suitable substitute like heavy cream), these delicious treats are perfect for breakfast, an afternoon snack, or dessert.
By following this step-by-step guide, you now know how to:
✔ Choose the best ingredients for authentic flavor.
✔ Properly mix, shape, and cook the dough for perfect puffiness.
✔ Store and reheat them to keep their freshness.
✔ Avoid common mistakes that can affect their texture.
Whether you serve them plain or with honey, jam, or dulce de leche, Gorditas de Nata are sure to become a favorite in your kitchen.
Try making a batch today and enjoy the sweet taste of traditional Mexican cuisine!
You May Also Like :
How to Make Coffee Cake Oatmeal Bars – Easy & Delicious!
Select How to Make Perfect Homemade Italian Bread – 9 Expert Tips!
How to Make Mini Blueberry Muffins – Quick & Delicious!
Want to learn more about recipes, and wellness tips? Follow us on Facebook for daily updates! Visit our Facebook page here.
Gorditas de Nata Recipe
Ingredients
Method
- In a large bowl, whisk together flour, sugar, baking powder, and salt.
- In another bowl, mix nata, egg, vanilla extract, and melted butter until smooth.
- Gradually combine the wet ingredients with the dry ingredients, stirring until a soft dough forms.
- If the dough feels dry, add 1 tablespoon of milk at a time until it reaches a smooth consistency.
- Cover the dough with plastic wrap and let it rest for 30 minutes at room temperature.
- Lightly flour a work surface and roll out the dough to ¼-inch thickness.
- Use a round cookie cutter or glass (about 3 inches in diameter) to cut out circles.
- Re-roll scraps and cut more circles until all dough is used.
- Heat a griddle or non-stick pan over medium heat and lightly grease with butter.
- Cook each gordita for about 2 minutes per side, until golden brown and slightly puffed.
- Press lightly with a spatula while cooking to help them rise.
- Remove from heat and let cool slightly.
- Serve warm with powdered sugar, honey, dulce de leche, or jam.
Nutrition
Notes
- For best results, let the dough rest before rolling it out—this makes the gorditas softer and fluffier.
- If you don’t have nata, heavy cream is the best substitute.
- Avoid rolling the dough too thin—it should be about ¼-inch thick for the right texture.

